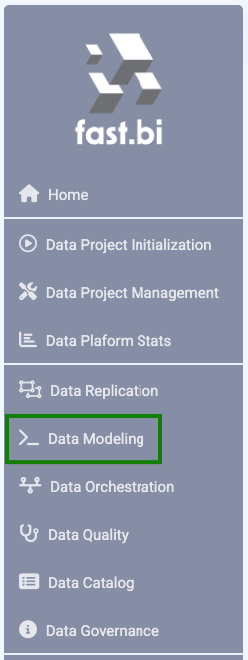
- Open the main page and click on the Data Modeling icon.
This will initiate the VSCode Cloud workspace IDE, your dedicated workspace for data modelling. Please wait until your workspace is deployed and customized. It can take up to 5min.
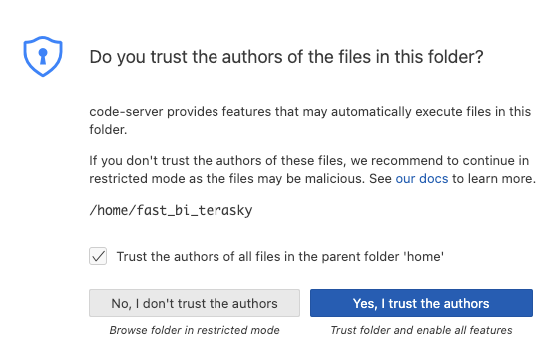
2. The first time you open your dedicated workspace, you should confirm the authorship of files. Check "Trust the authors of all files in the parent folder 'home'" and then click "Yes, I trust the authors."
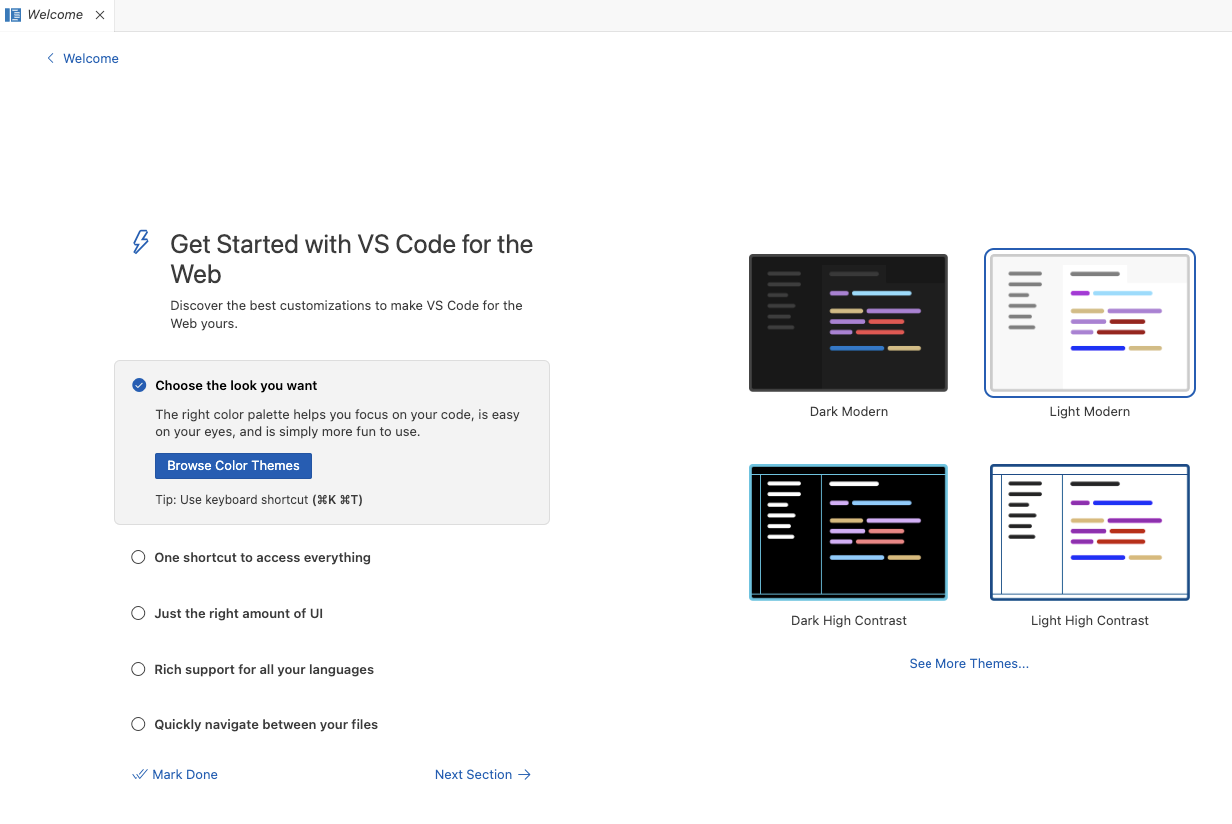
3. On the Welcome screen, you can customize themes and other settings to tailor your workspace. When you're finished, click "Mark Done" at the bottom.
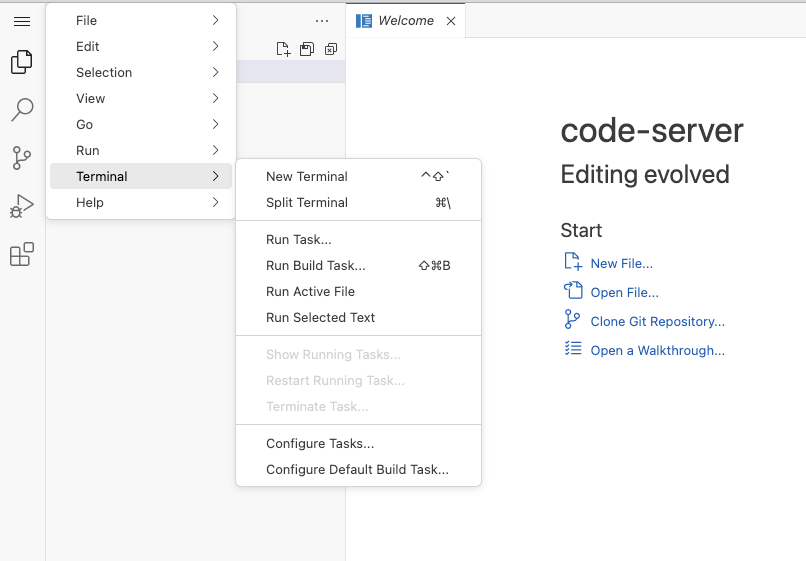
4. Now, just a few steps remain to start coding. For the first time, you need to create a new SSH key and log in to your Data Warehouse. Click on the "hamburger" menu options icon in the upper left corner, when the window pops up, select Terminal >> New Terminal.
At the bottom of the screen, a Terminal will open. Here, you can run all your commands. To generate a new SSH key, copy and paste the following command: ssh-keygen -t ed25519 -C "your_email@example.com" (don't forget to replace your email address). Then press the "Enter" key. The SSH key generation wizard will prompt you for information; you can generally press "Enter" to accept defaults until it's done generating the key.
Once the new key is generated, you must copy the public key and add it to your Repo Account SSH keys. To retrieve the key, run the following command in the terminal: cat /home/coder/.ssh/id_ed25519.pub. Copy the output, and add the newly generated SSH key to your repository provider configuration.
After successfully adding your new key, return to your workspace IDE and proceed to the next step (step 5).
5. Cloning your repository*. (Skip this step if you are working in Fast.BI Data-Modeling, the repo is already present in the IDE.)
On the main page, click on the Repository Management icon.
It will open your code repository space. Navigate to the DBT-Data-Models ( dbt-data-models ) repository. In the upper-right corner, you will find a "Clone" icon. Click on it and copy the "Clone with SSH" repository link. Then, go back to the terminal in your workspace IDE and run the following command: git clone git@gitlab.fast.bi:bi-platform/terasky/data-model/dbt-data-model.git. If prompted to continue, type "yes."

6. With your data modeling repository and dbt projects cloned successfully, you now need to authenticate to your Data Warehouse platform. To do this, run a few commands.
If using BigQuery:
First, execute the command: gcloud auth login. This will open a Google authentication web link. Follow the instructions to obtain an authorization code. Copy the provided authorization code, paste it into the terminal, and press "Enter" on your keyboard.
Next, run a similar command, but this one is necessary for proper dbt engine functionality: gcloud auth application-default login. Follow the same steps as before. After successfully logging into the Google Cloud Project, you can start working with your dbt projects.
If using Snowflake:
Set your credentials as environment variables:
In terminal, run the command: export SNOWSQLUSERNAME=<your_snowflake_username>
export SNOWSQL_PASSWORD=<your_snowflake_password>
export SNOWSQL_ROLE=<your_snowflake_role>
If using RedShift:
Set your credentials as environment variables:
In terminal, run the command: export REDSHIFT_HOST=<your_redshift_hostname>
export REDSHIFT_PORT=<your_redshift_port>
export REDSHIFT_USER=<your_redshift_username>
export REDSHIFT_PASSWORD=<your_redshift_password>
If using Fabric:
Set your credentials as environment variables:
In terminal, run the command: export FABRIC_SERVER=<your_fabric_hostname>
export FABRIC_PORT=<your_fabric_port>
export FABRIC_USER=<your_fabric_username>
export FABRIC_PASSWORD=<your_fabric_password>
7. The last step is to choose your DBT Project.
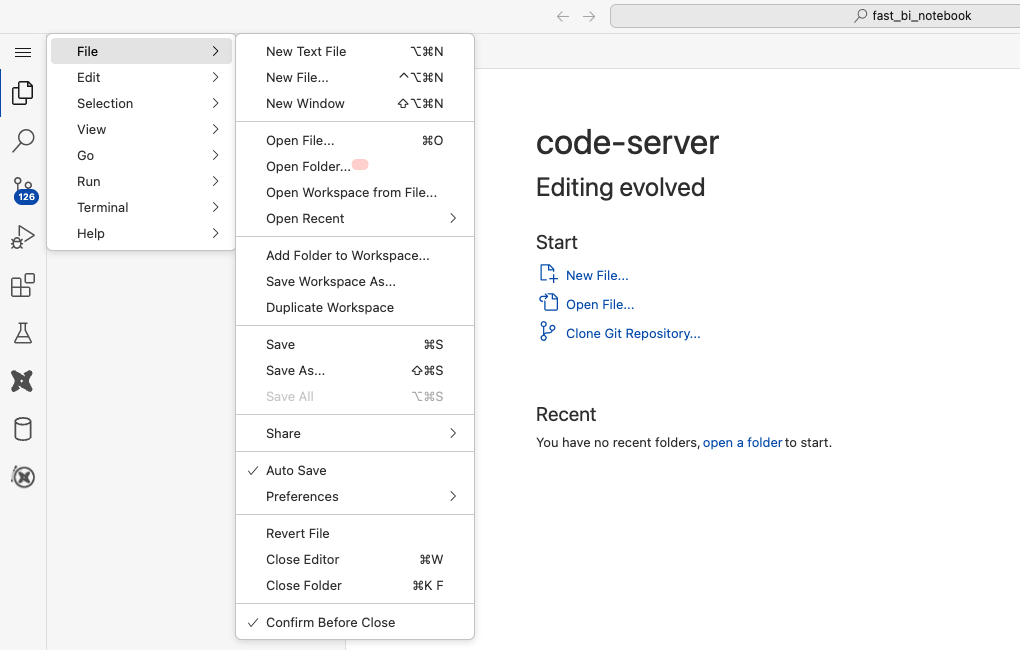
Click on the "hamburger" menu icon in the upper left corner. Then choose File >> Open Folder...
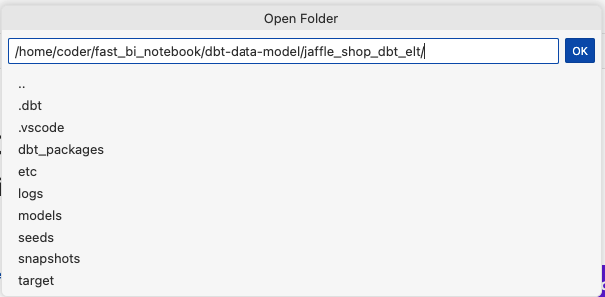
On the TOP, you'll see the "Open Folder" window pop-up, now you'll need to choose your dbt project folder. In our case, we need to choose fast_bi_notebook >> dbt-data-model >> jaffle_shop_dbt_elt. Our dbt project is jaffle_shop_dbt_elt. Then Click OK.
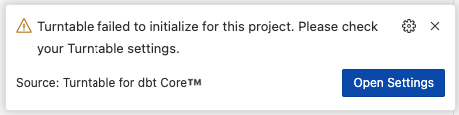
At first time using the Coder IDE, you will get notification messages to connect to the Turntable DBT extension (Optional).

Then the Extension window pops up. Click on the "Allow" button.

Another External Website window pops up. Click on the "Open" button.

Now you were transferred to the Turntable Extension Authenticate site. Click on the "Continue with Google" button.

Choose your Google Fast.BI account.

After authentication is successfully finished, click on the "Get access code" button.

Copy the code, and go back to Fast.BI Coder online IDE workspace. At the lower right corner, you see Signing into Turntable... Click on the "Cancel" button, or if you see Already Failed to sign in to Turntable click on the "Enter Access Code" button.

Paste your access code and click Enter.

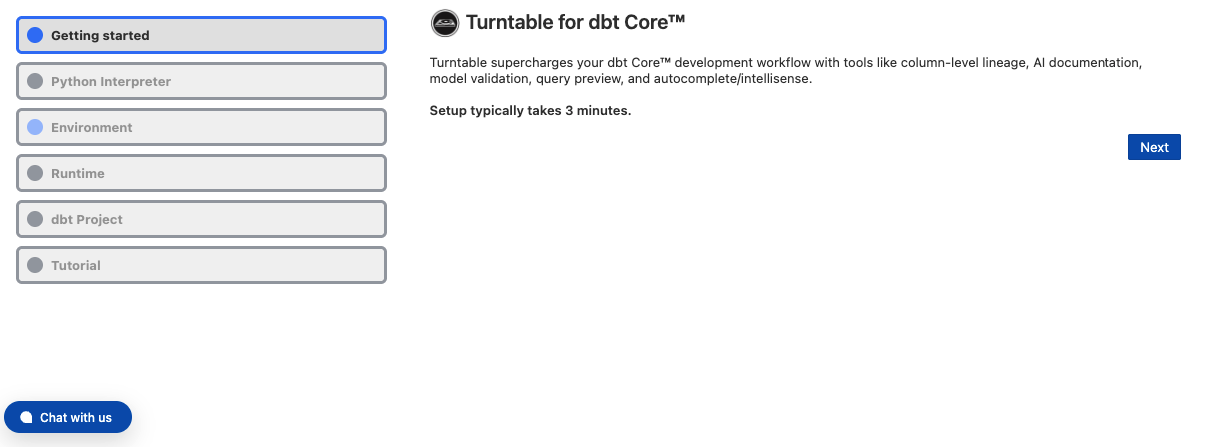
The last part is to follow the wizard:
Click on Open Settings
Finish the Turntable extension configuration.
Start your data modeling - in the left corner, in Workspace IDE, you will see your dbt project - dbt-data-model - files structure.
Open the model directory, choose one of the models, and right-click on it.
In the open window, select "Open in Integrated Terminal."

A new terminal window will open at the bottom of the screen, allowing you to interact with the data modeling model.
PROBLEMS - Here, you will be informed about all issues related to your data model.
OUTPUT - The information windows about the compilation process.
DEBUG CONSOLE - The debug logging console.
TERMINAL - Command line window.
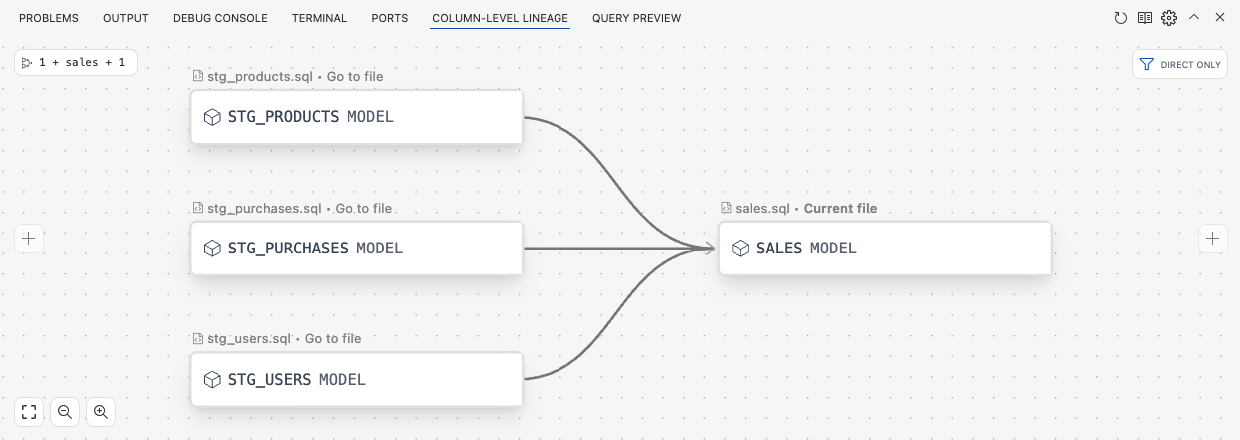
COLUMN-LEVEL LINEAGE - Track your transformation for columns. Lineage between your data models.
QUERY PREVIEW - See your model output as data.